Turn right side out. Get the pattern Clothing Size.
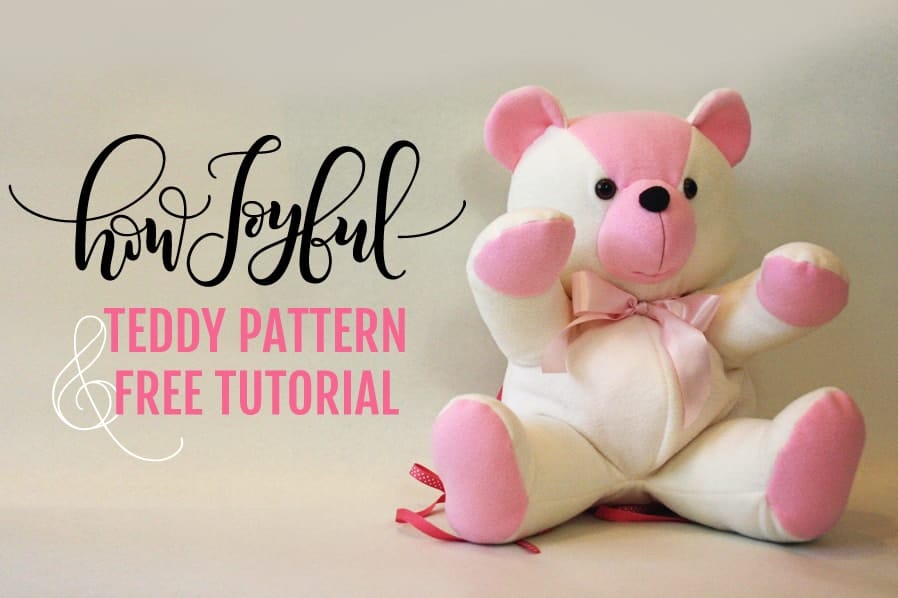
How To Make A Stuffed Bear The Howjoyful Bear
Cut notches in the edges of the fabric going all the way around the seam.
. Tutorial and pattern for the HowJoyful bear. This page may contain affiliate links. Having made many softly stuffed bears over the years I never tire of finding another bear pattern.
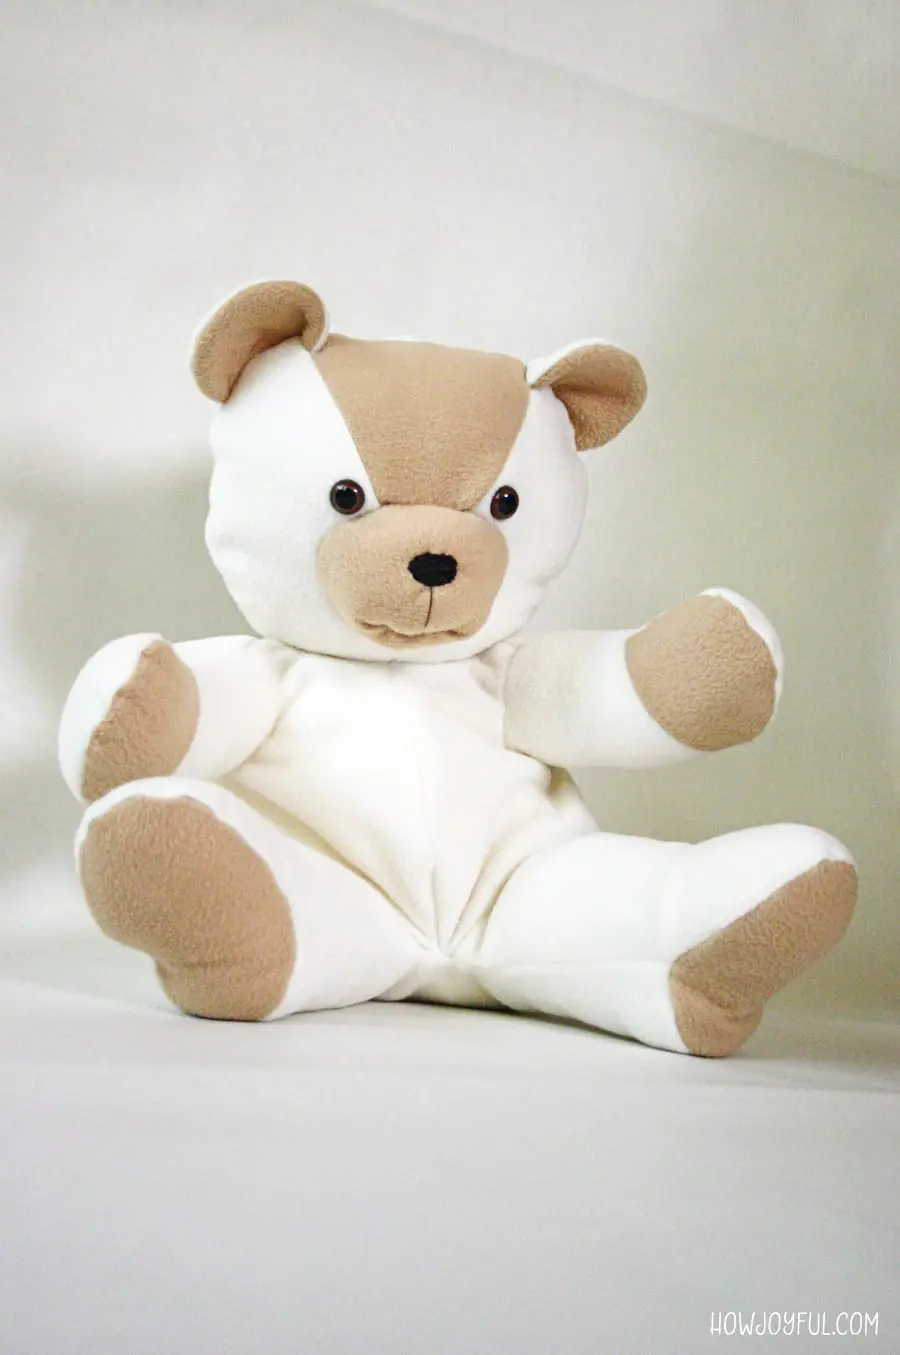
For mine I used fleece because i wanted it to be very soft but you can use the normal animal fur fabric if you want. Blog or other free website Pattern Type. I left 14 of seam allowance for mine.
How joyful bear tutorial and pattern Produce captivating 3D nail artwork designs with 3D Nail Artwork Jewelry through the Nail SuperstoreAmong the most well-liked nail art enhancements unfortunately 3D nail art can be Among the most time intensive to perform. Pin the 2 fabric pieces together outer printed sides facing each other. Secure eyes on the inside 2.
Mark where you will stitch to hold and then mark the nose Image Notes 1. Attach arm back 14 to back 12 matching letters on pattern. Sew tail 11 right sides together leaving straight portion open.
Ad Browse Discover Thousands of Home Garden Book Titles for Less. 2- Place the earpieces with the right side facing in and sew around the edge. How Joyful Pattern Source.
Hold the felt nose and sew around Image Notes 1. Stitch on each side to shape the mouth 2. Sew bottom leg 13 center seam together from point S to K.
With this pattern and tutorial you can make teddy bears our of pretty much any kind of fabric. For mine I used fleece because i wanted it to be very soft but you can use the normal animal fur fabric if you want. This project is not for beginners and if you have never made stuffed animals and are not familiar with patterns I I printed my pattern on cardboard so that way the process of tracing to the fabric will be easier Once you have all of the pieces of the pattern printed you are ready to start.
Attach bottom leg to back matching letters on pattern. Teddy Bear Tutorial and Pattern. This pattern and any modify version you create out of this pattern is for PERSONAL USE ONLY if you wish to sell a bear made with this pattern a limited commercial license is.
With this pattern and tutorial you can make teddy bears our of pretty much any kind of fabric. Sew a straight line to secure the 2 pieces. Oct 19 2016.
If you purchase after clicking these links Threadistry receives a small commission at no cost to you. Sew back 12 center seam with tail in place. 3- Turn the ears inside out then fold the ends toward the center just as the picture shows once you have them in that shape pin them in place.
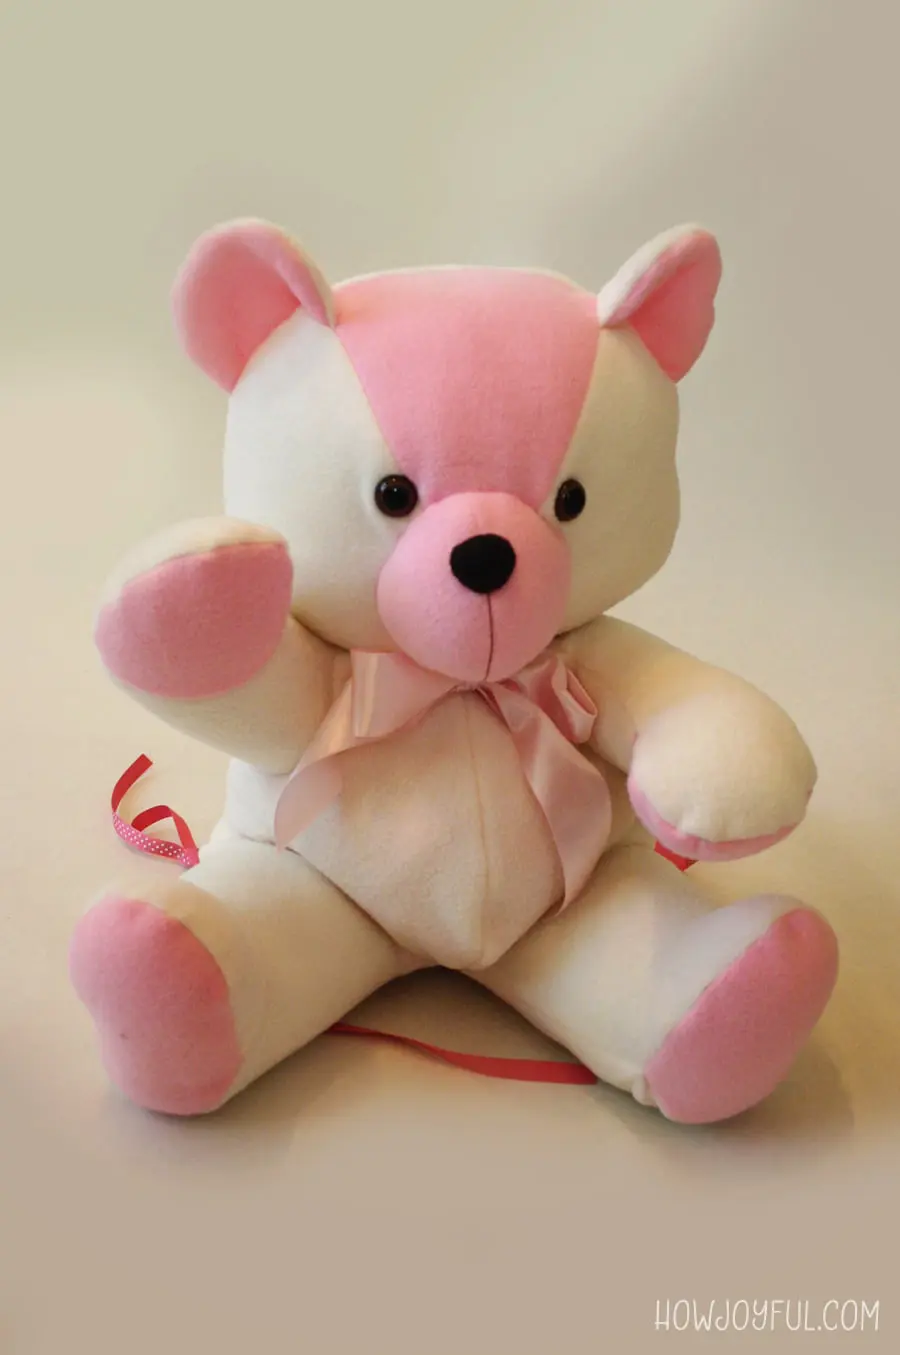
For small children safety eyes although hard to find or embroidered eyes and nose are best. Free teddy bear sewing pattern and tutorial Disclosure. How Joyful Bear Tutorial And Pattern.
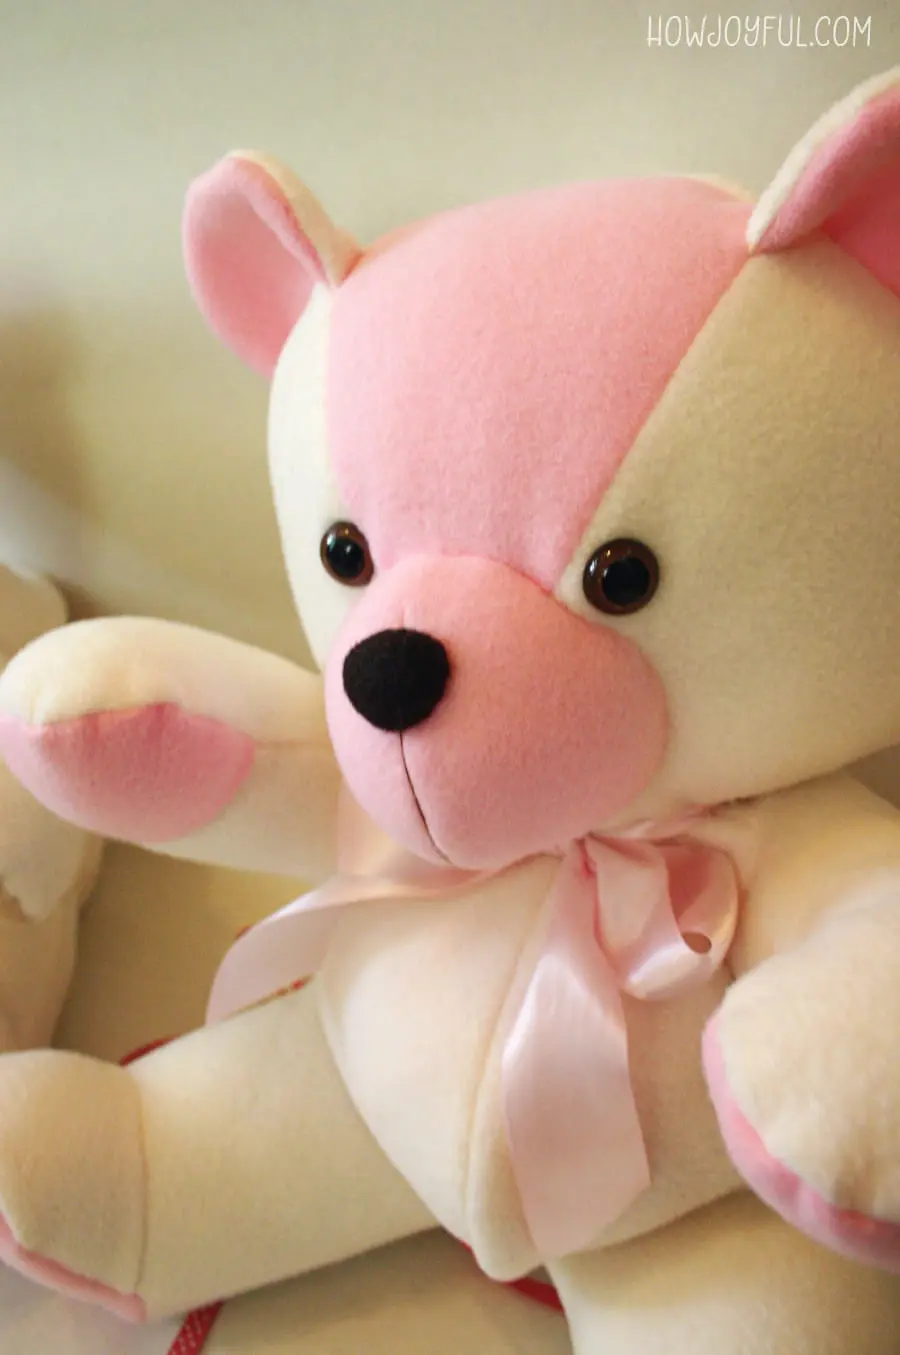
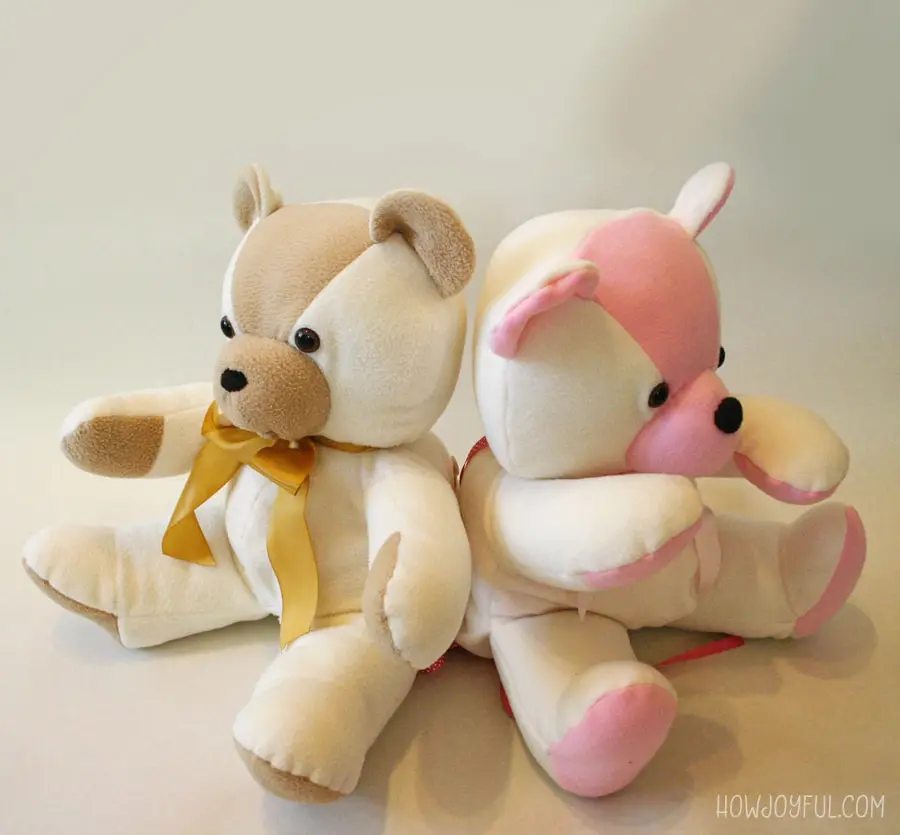
The name of this bear brings a smile. The contrast color for paws nose and ears helps to define the bear best. Teddy Bear Tutorial and Pattern.
Get exclusive access to practice sheets Procreate brushes printable planners SVG cut files coloring pages and more FREE resources inside the Letter Vault when you sign up for the HowJoyful Newsletter. Print at home pdf Price. Up to 8 cash back HowJoyful Bear.
Close the moth on the inside so it. Turn the teddy bear right side out. Make a teddy bear with this step by step tutorial and FREE PATTERN.
Perfect for a memory bear or present for the little ones in your life. Welcome to HowJoyful - A creative blog for lettering and calligraphy lovers.

Teddy Bear Tutorial And Pattern 5 Steps With Pictures Instructables

Teddy Bear Tutorial And Pattern Teddy Bear Sewing Pattern Bear Patterns Free Teddy Bear Patterns Free

How To Make A Stuffed Bear The Howjoyful Bear
How To Make A Stuffed Bear The Howjoyful Bear
How To Make A Stuffed Bear The Howjoyful Bear
How To Make A Stuffed Bear The Howjoyful Bear

How Joyful Bear Tutorial Sewtorial
How To Make A Stuffed Bear The Howjoyful Bear
0 comments
Post a Comment